Getting started
What a new workspace looks like, and the order worth doing things in.
A new tenant starts with Events and Communication switched on; everything else is opt-in from Configuration. The console redirects to an onboarding wizard until the required steps are done.
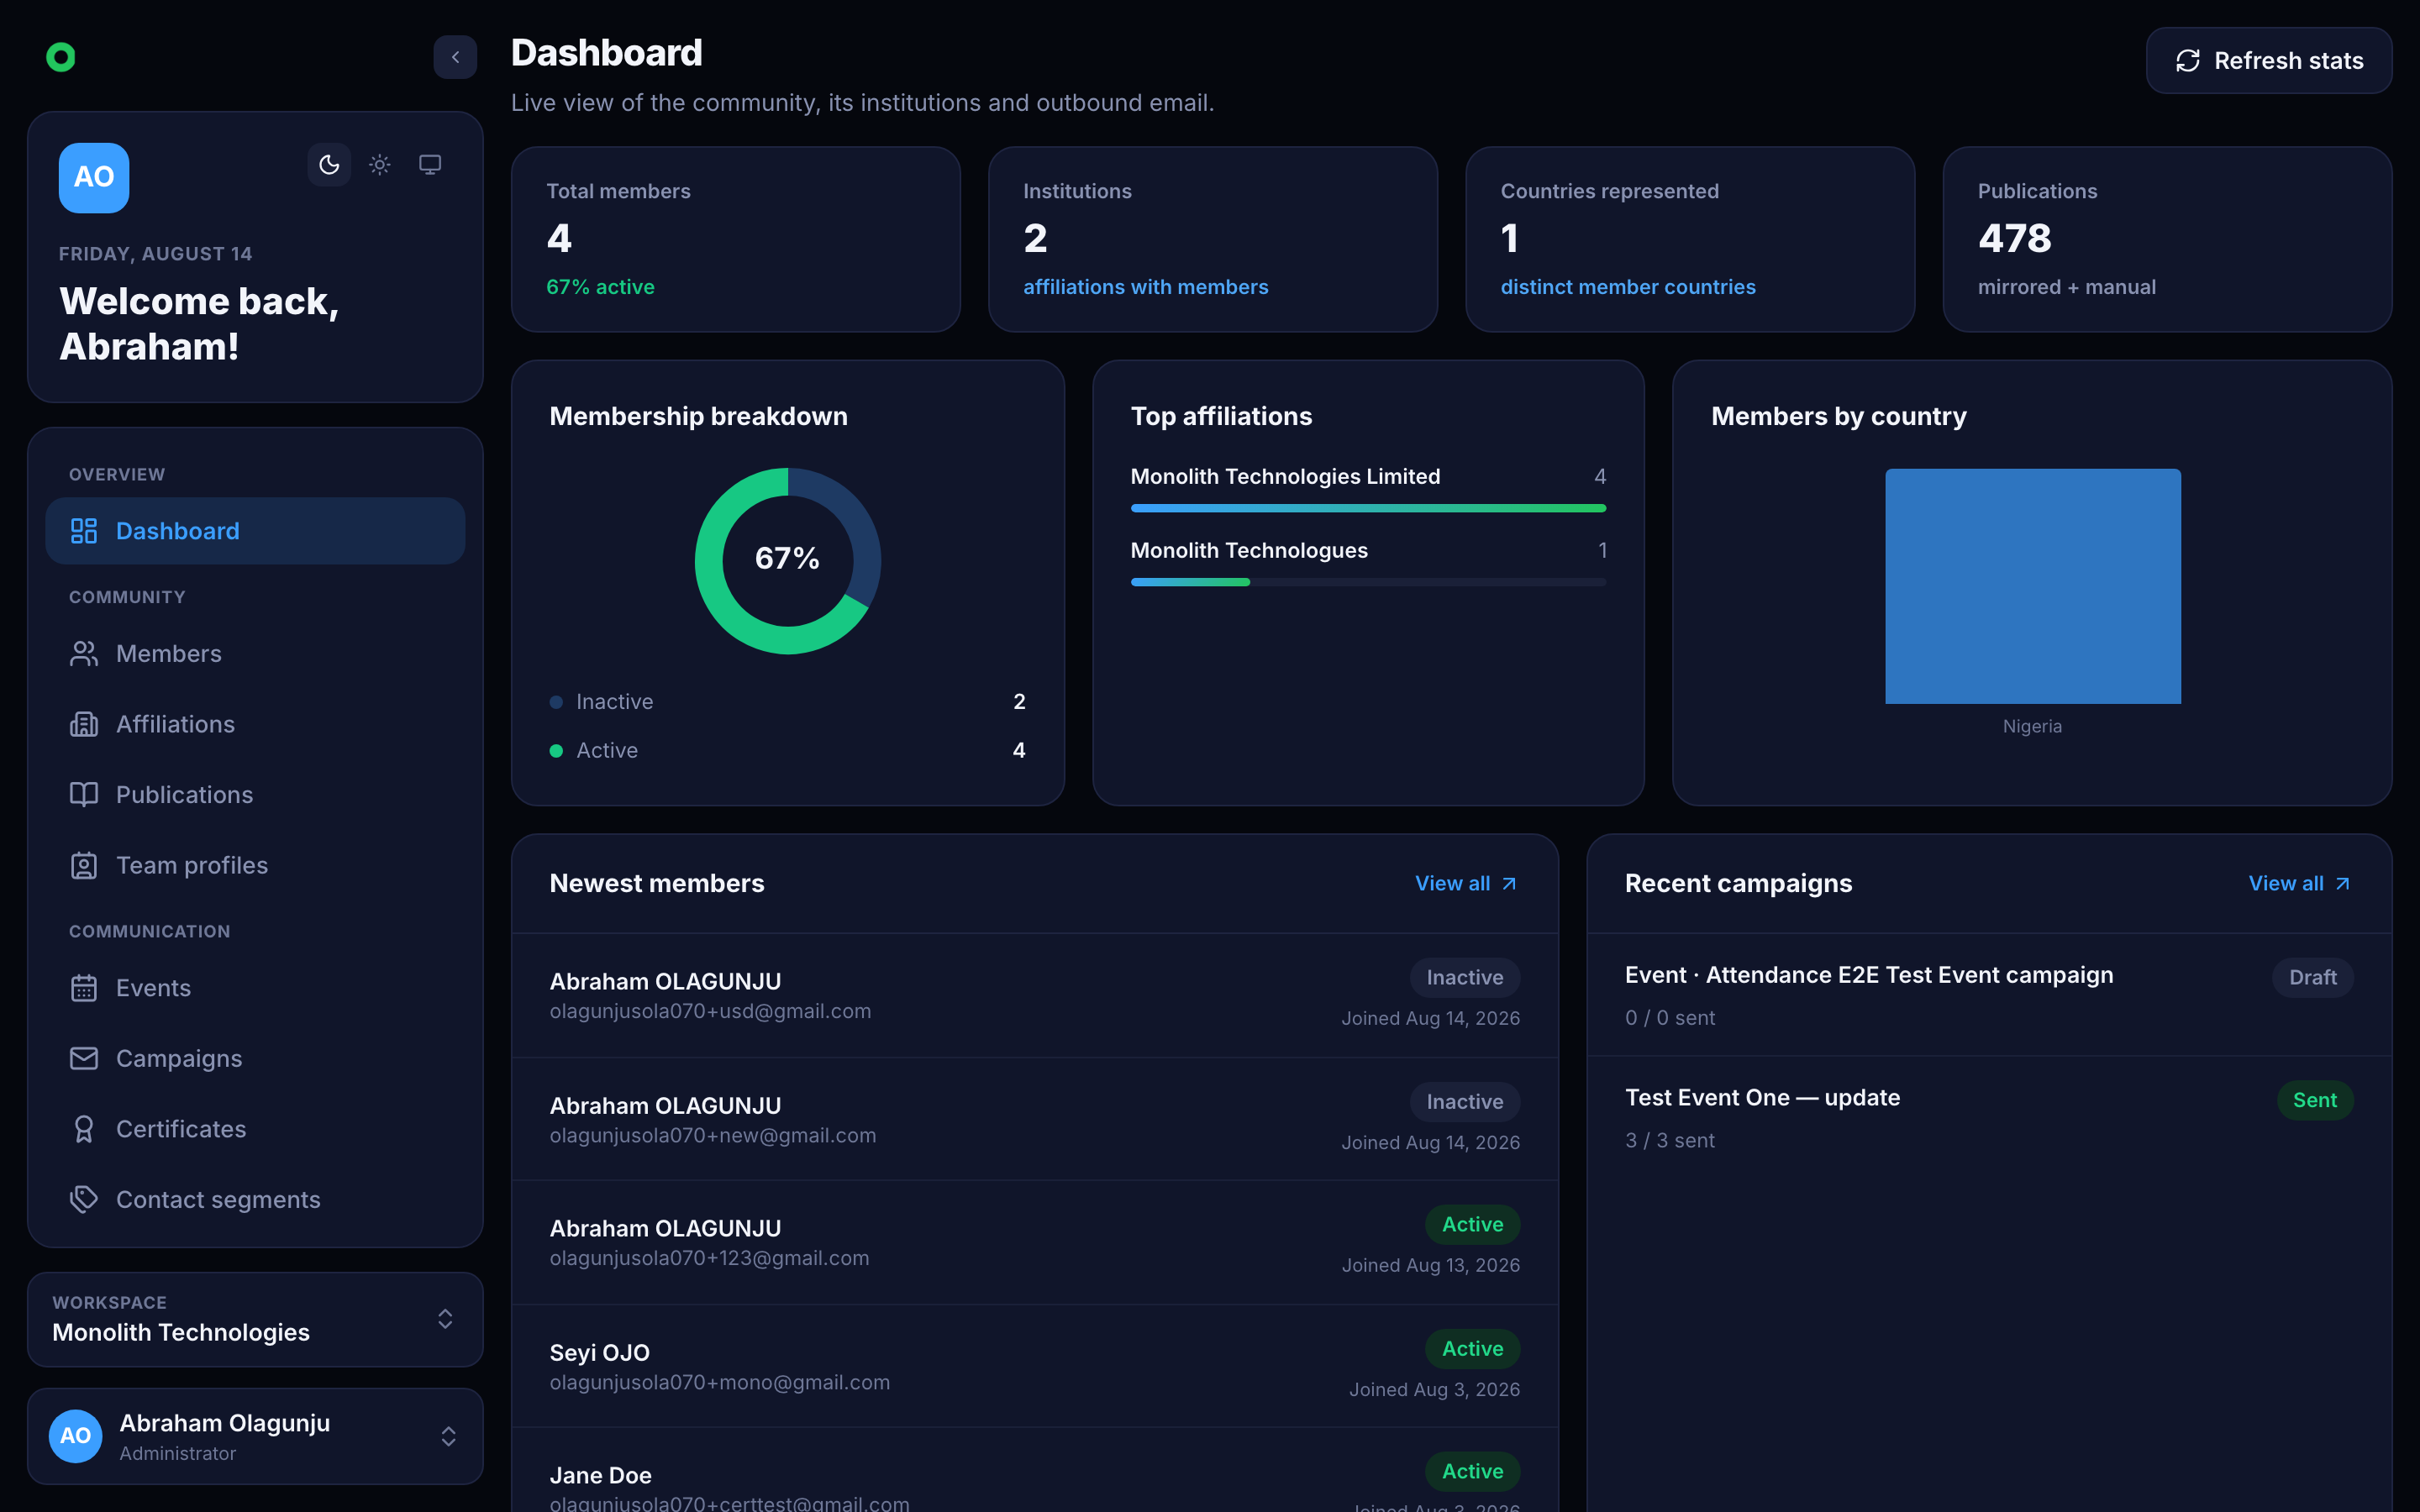
The order that saves rework
- Identity first. Set the organisation name, contact block and logo under Configuration → General and Branding. These flow into every email footer, public registration page and certificate, so setting them once beats editing them in three places later.
- Turn on the modules you will actually use. Each one adds navigation, permissions and endpoints. See Settings.
- Invite the team and shape roles before importing data, so the audit trail attributes work to real people. See Team.
- Bring in members. A CSV import is usually the fastest start, and it is the one step everything else depends on. See Members.
- Then run something — an event, a campaign, a certificate batch.
Sending email
Two things decide whether email leaves the building:
- A transport. Either the tenant configures its own SMTP under Configuration → Communication, or sends through the platform's transport, which costs units from the unit wallet.
- A from-address that survives authentication. A sending domain the tenant actually controls is the difference between the inbox and the spam folder.
Campaigns check the wallet balance before dispatch when the tenant has no SMTP of its own. A send is refused outright rather than half-delivered.